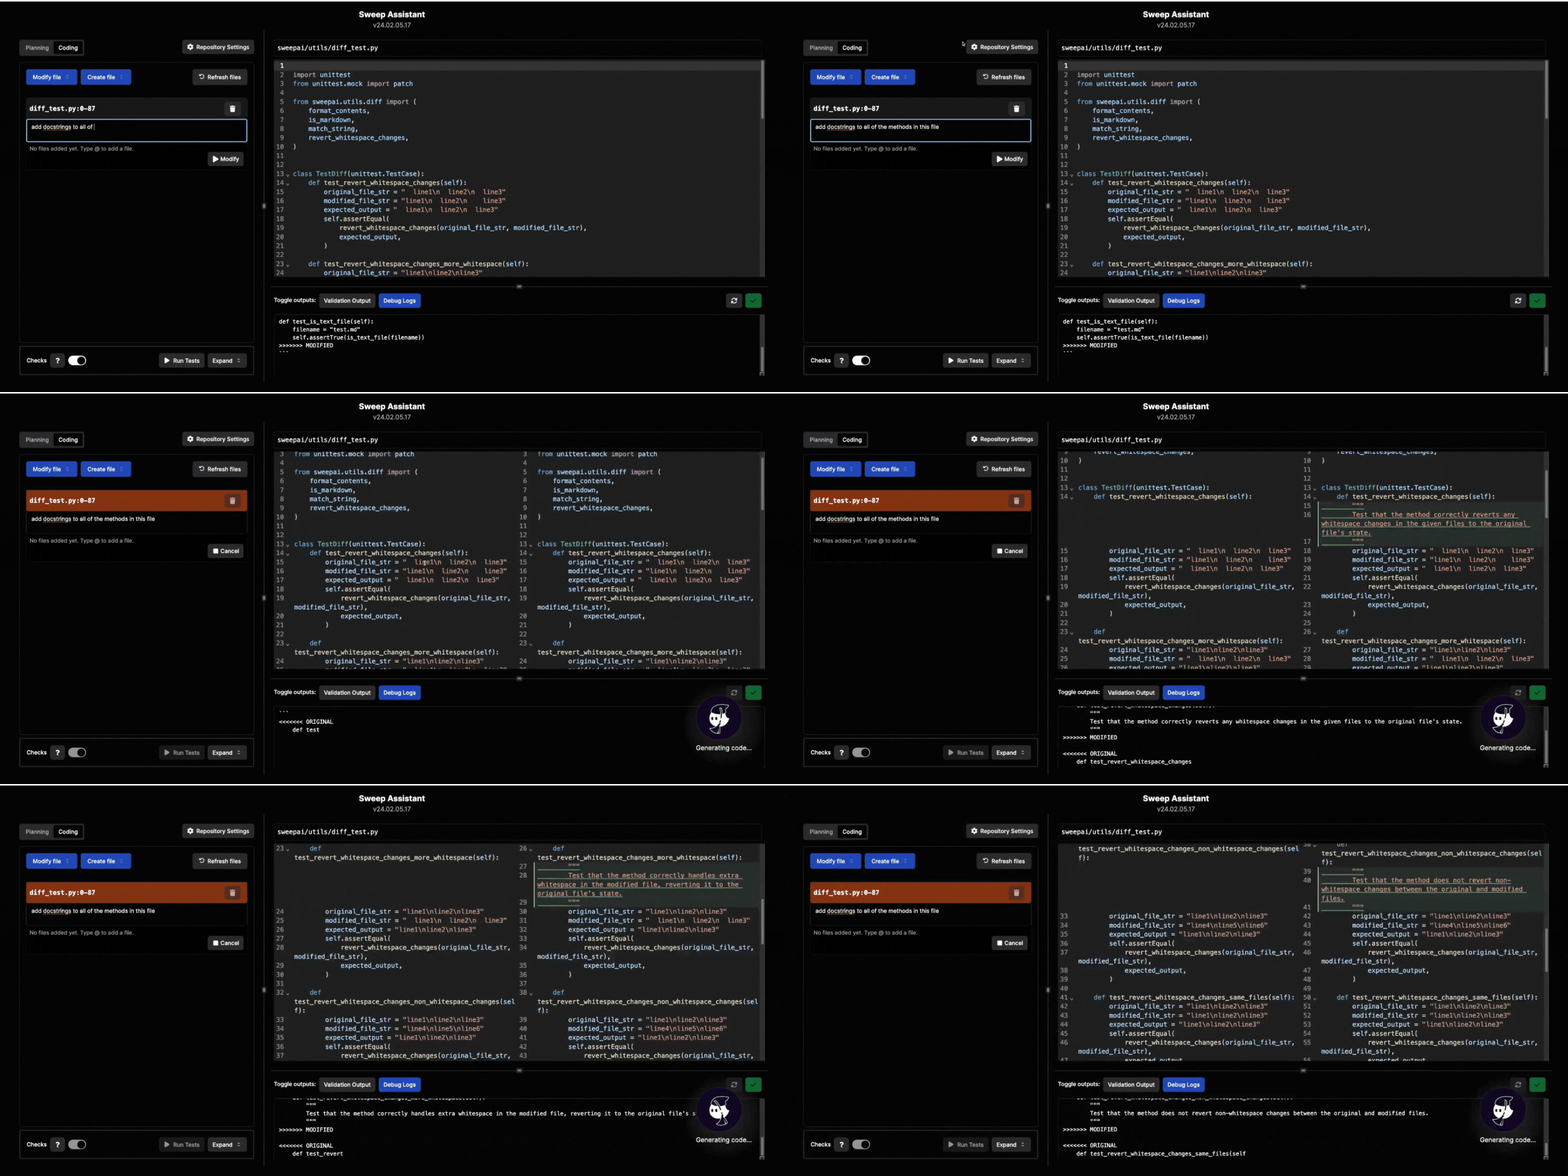
Sweep Assistant
Sweep is a locally running dev tool that codes alongside you. To preserve your security, Sweep will only send code to your OpenAI endpoint. If you use Azure OpenAI, all of your code will stay within your network.

Installation (2 min)
Prerequisites
- OpenAI API key(https://platform.openai.com (opens in a new tab))
- Node.js v18+(https://nodejs.org/en/download/ (opens in a new tab)). Use
npm install -g n && n 18to use Node.js v18.
Install Sweep by running the following command in your terminal:
npm i -g sweepai && npx sweepai build
npx sweepai
Having Trouble❓
- If you see a build error, you may be on version 16 of Node.js. You can upgrade to version 18 by running the following command:
npm install -g n && n 18- If you see a permissions issue, you can fix it by running the following command:
sudo (npm i -g sweepai && npx sweepai build)You can run npx sweepai to start Sweep in the future. To update the assistant, run
npm update -g sweepai && npx sweepai buildDisabling Telemetry
We collect telemetry (not code) to improve the assistant, such as the types of tasks you're asking Sweep to handle.
To disable telemetry, add NEXT_PUBLIC_NO_TELEMETRY=true to your .env in your Sweep Assistant directory.
You can find where the Sweep directory is cloned by running which sweep. For example, if which sweep yields sweep: aliased to npm start --prefix /home/bob/sweep/platform, then you would run:
cd /home/bob/sweep
echo "NEXT_PUBLIC_NO_TELEMETRY=true" >> platform/.env
Usage (After Installation)
Set Repository Path
You can run pwd to use your current working directory.
Select a files for Sweep to edit
Click "Modify file" or "Create file".
Add Instructions
Add meticulous instructions for the code to edit. You can type @ to mention a file.
Generate Code
Click "Generate Code" to run the assistant. Then click the check mark to approve the change or the reload to reject the change.
Checking your Code
We highly recommended that you add a checks to your assistant. There are two types of checks:
- Validation Script: runs after every edit. We recommend using a formatter and linter to catch syntax errors and undefined variables.
- Test Suite: runs after all edits are complete.
Why do we need a validation script?
Human developers identify syntax errors using visual cues like syntax highlighting and red squiggles, which is unavailable to LLMs. The best way for LLMs to detect such errors is to use a formatter to check the syntax and a linter for catching undefined variables.
Here are some example scripts we recommend:
python3 -m py_compile < $FILE_PATH
pylint $FILE_PATH --errors-onlypytest $FILE_PATHMake sure to click the "Run Tests" button to test the script.
You may want to provide the full path to the CLI tools (e.g. /home/kevin/.cache/pypoetry/virtualenvs/sweepai-u_abcdefg-py3.10/bin/black) if you are using a custom virtual environment. You may also want to run python -m pylint or python3 -m pylint instead of pylint.